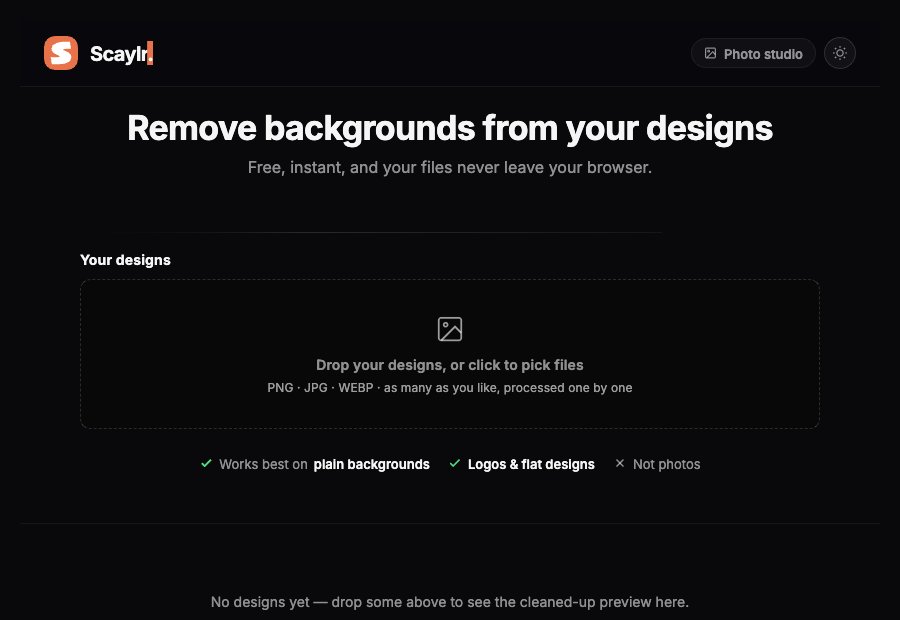
Scaylr's free background remover cuts a design out of its background using colour and tolerance, not AI guesswork — which means it's fast and reliable on logos, flat art and typography with a plain background, and not built for busy photographs. Fine-tune with a tolerance slider and a "keep white" toggle, preview the cutout on a dark or coloured shirt before you commit, and download a transparent PNG. Runs entirely in your browser.
A transparent PNG is one of the most useful files a print-on-demand seller can have. Drop it onto a black mug, a navy hoodie, a kraft-paper tote, and it just works — no white rectangle trailing behind it, no re-editing for every product colour. The problem is that most free "remove background" tools online are either paywalled after the first few uses, upload your file to someone else's server, or use a heavy AI model that's overkill for a flat vector logo. Here's a lighter approach that fits how most POD designs are actually built.
How It Actually Works
Scaylr's background remover isn't an AI segmentation model trying to "recognise" a subject in a photo. It's colour and tolerance based: it reads the colour at the edges of your image and removes every pixel that's close enough to that colour, working inward. That's a much simpler job than AI subject detection, which is exactly why it runs instantly in your browser with no upload and no queue.
This matters for what you should expect from it. It's built for the kind of files POD sellers actually work with — logos, line art, typography, clip-art style designs — sitting on a single flat colour, almost always white. It is not built to pull a person or product out of a busy photograph the way a photo-editing AI tool would.
What It's Good At vs What It's Not
| Design type | Result |
|---|---|
| Logo or wordmark on white/plain background | Clean cutout |
| Line art, flat illustration, typography | Clean cutout |
| Clip-art style graphics | Clean cutout |
| Design with soft drop shadows blending into the background | May need tolerance adjusted, some edge softness |
| Photograph, or a design with a photographic background | Not what this tool is for |
If your source is a photo rather than a flat design, a photo-editing background remover (a different category of tool, usually AI-based) is the right choice — trying to force a colour-based tool onto a photograph will cut unevenly through the subject itself.
The Two Controls That Matter
Tolerance controls how aggressively the tool matches "close enough" to the background colour and removes it. Low tolerance keeps more — safer when your design has pale or faint details close to the background colour that you don't want accidentally cut. High tolerance cuts more — best when a soft glow or halo is left clinging to the edge after the first pass. Start in the middle and nudge it based on what the preview shows.
Turned on, this protects closed white or light areas inside your design — the white of an eye in a character illustration, the inner counter of a letter "O" — so they don't get removed along with the outer background. Turned off, every white area gets cut, including ones fully enclosed inside the artwork.
Getting a Clean Result on the First Pass
A few habits make the difference between a one-click cutout and a fiddly one:
- Start from a flat, single-colour background if you can. A design exported straight from Canva, Illustrator or Procreate onto a plain white canvas will almost always cut perfectly on the first try. A background with a subtle gradient or texture gives the tolerance slider more work to do.
- Export at full resolution before removing the background, not after. Cutting a background doesn't change a file's pixel dimensions, so there's no real ordering requirement with resizing — but starting from your largest available source file means the edge the tool draws is based on the sharpest data you have, rather than an edge that's already been softened by a previous resize.
- Watch for anti-aliasing at the very edge. Most designs are exported with a soft, semi-transparent 1-2px border where the artwork blends into the background (this is what stops edges looking jagged). A colour-based cutter handles this well most of the time, but it's the most common source of a faint outline if something does look off.
If your design also needs to go on a large product like a poster or an oversized print and the source file is small, run it through the image upscaler either before or after removing the background — the two operations don't interfere with each other, since one changes size and the other changes transparency.
Step by Step
Drop your design
PNG, JPG or WEBP — drop one file or several at once, each processed on its own.
Preview on a real product colour
Switch the preview swatch between checkerboard, white, dark shirt and coloured shirt. This is the step people skip and then regret — a cutout that looks flawless on a white background can show a faint halo the moment it sits on black.
Fine-tune
Open the tolerance and keep-white controls if the default pass isn't perfect. Most flat logos need no adjustment at all.
Download
Sign in free to download the PNG — everything up to this point works signed out, the account is only needed for the export itself.
A halo or faint background tint is invisible on a white canvas and very visible the moment the design lands on a navy hoodie or black mug. Always check the "dark shirt" preview swatch as your last step, not just the checkerboard.
Using the Transparent PNG in Mockups
Once you have a clean cutout, it drops straight into the mockup studio the same way any other design file does — no extra cropping needed, since the transparency is already baked into the PNG. This is particularly useful for apparel and drinkware, where the same design needs to sit convincingly on several product colours; see the T-shirt mockup guide and mug mockup guide for how to show a design across a full colour range once the background is gone.
If your design was built as layered PSD art rather than a flat PNG, you may not need to remove a background at all — a smart-object template already isolates the print area for you. Our guide on using smart objects in PSD mockup templates covers the difference and when each approach is faster.
For the flat logos, typography and line-art designs most POD sellers actually work with, a colour/tolerance-based remover is faster and just as clean as a heavier AI tool — and it's free, with no upload. Save the AI-photo tools for actual photographs; for everything else, this is the quicker path to a transparent PNG.
Cut Out Your Design in Seconds
Drop a design, preview it on a real product colour, download a transparent PNG. Free, nothing uploaded.
Try the Background Remover Free →Frequently Asked Questions
Tool behaviour (colour/tolerance method, controls, and what it's designed for) checked directly against the live background-remover.html page on 29 September 2026.